|
|
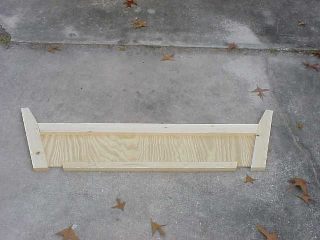
Here is the start. Framing the thwart bulkhead. |
|
|
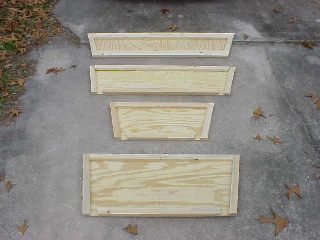
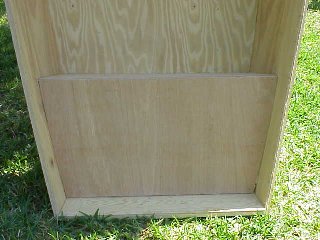
The rest of the bulkheads and transom. |
|
|
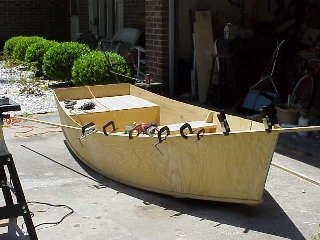
Sorry, I lost some pictures along the line showing the assembly of the sides and bottom. Here is a shot from the bow when I was fitting the gunwale. You can never have to many clamps. |
|
|
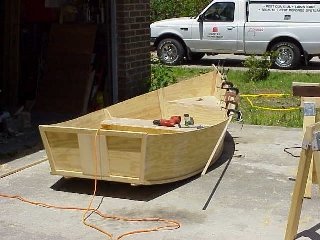
A shot from the stern. You can see the motor board in this view. |
|
|
Here is a view of the inside. Clamp the gunwale in place and then drill pilot holes from the inside through the plywood side and into the gunwale spaced about 4". I actually measured and marked. |
|
|
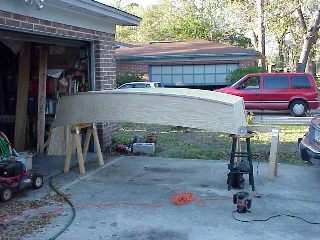
Here she is after I used the router to soften the chine logs edges. I also used the same radius cutter on the gunwale outside edges. |
|
|
This shows my crummy glass job on the chine logs. |
|
|
This is a shot of the butt joint (outside). I had a lot of problems with them. Use epoxy and then you will be able to have full confidence that they will hold. |
|
|
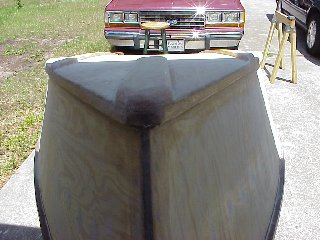
Here is the bow skid. I used a much to thick piece of fir. A 3/8" scrap piece of plywood would have worked just as well and been a lot easier. |
|
|
You can see the bottom skids. Double them up for added tracking. The boat as spins easy and if you don't keep you mind on rowing, your off track. Adding another thickness to each skid should help with that. You could also add a center fin. Don't leave the skids off. They also help with supporting the bottom. |
|
|
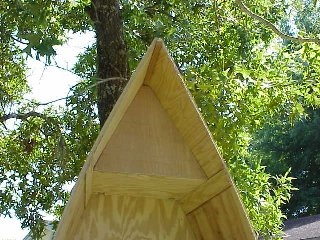
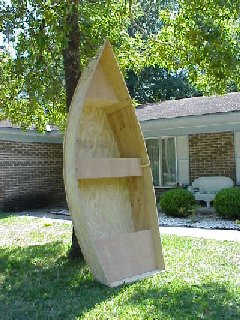
The inside bow. |
|
|
The thwart seat. |
|
|
The stern seat. |
|
|
The whole enchilada! There is a great sense of accomplishment at this point of the project. |
|
|
Now comes the part that never seems to end. Sanding, varnish & paint! |
|
|
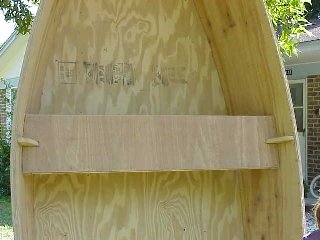
The thwart support. |
|
|
A picture with the Tanaka 3HP hanging off the transom. |
|
|
1st coat of finish paint. Won't be long now! |
|
|
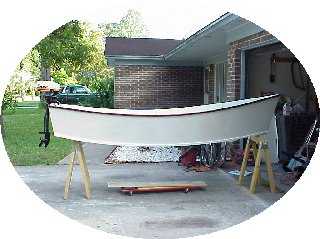
Side view. |
|
|
View from the top of my station wagon. |
|
|
The name plate that one of the guys at work made up for me. "E" is my daughter. Did I mention that boat building is a great bonding tool? |
|
|
Here is another innovation that one of the guys suggested. So I took some scrap aluminum tube and an 90 degree angle plate, screwed then together and wha-la!! Just load the transom into the V. Walk around to the bow, pick it up and walk it around an up onto the roof. Saves the back! Thanks for the idea Ken! There are a couple of places that you can purchase these. |
|
|
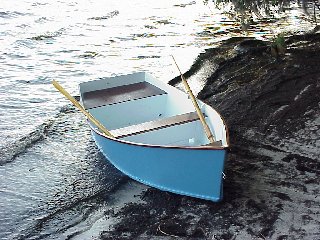
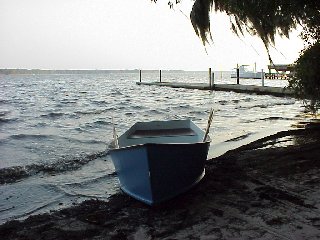
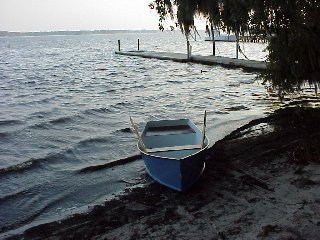
Here is the finished boat the first time she touched water. |
|
|
Another bad shot. |
|
|
And one more for the road. |
|
Thanks for looking at my Skiff Project. |
|
